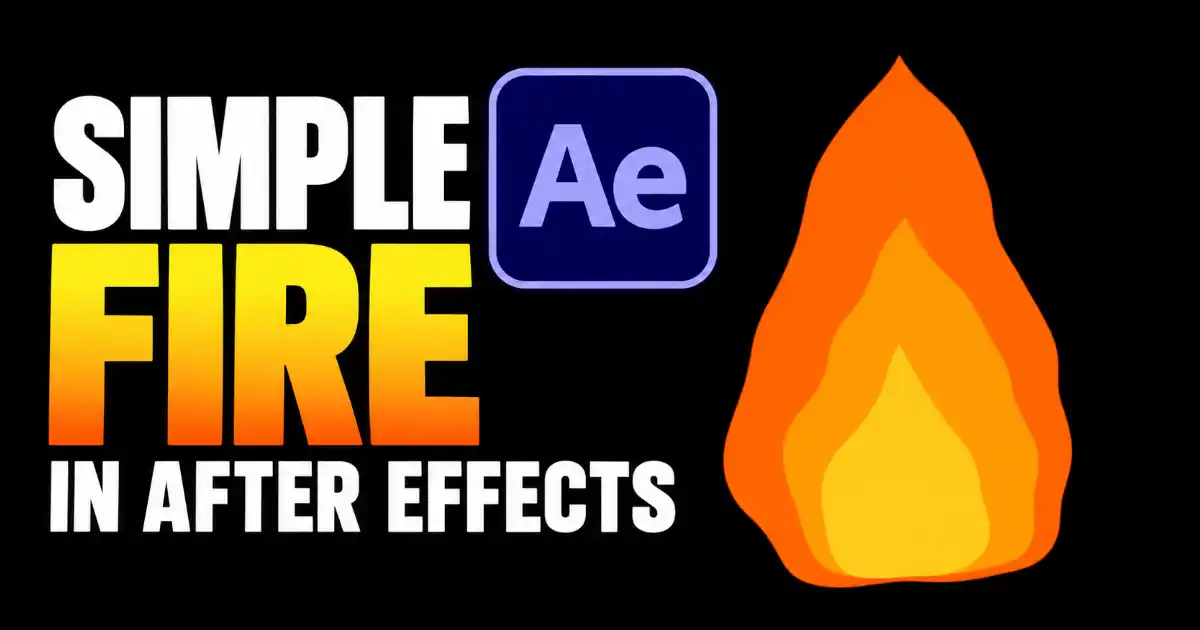
Cartoon fire is one of those little animations that shows up everywhere. Campfire scenes, explainer videos, logo reveals, game style intros, you name it. The good news is that you don’t need any plugins or complicated expressions to make one. In this tutorial I’ll show you how I build a simple, stylized flame in Adobe After Effects using just three shape layers and one built in effect.
The whole thing takes about five minutes once you know the steps. If you prefer watching, the full video tutorial is embedded below.
What You Will Learn
In this tutorial you’ll learn how to:
- Draw a teardrop flame shape with the Pen tool
- Move the anchor point so the flame layers scale from the base
- Stack duplicated layers to build the inner and outer parts of the fire
- Pre-compose layers so you can apply one effect to all of them
- Use Turbulent Displace with keyframes to make the flame flicker and rise
Step 1: Create a New Composition
Open After Effects and create a new composition by going to Composition > New Composition (or press Cmd + N on Mac, Ctrl + N on Windows).
You can use any size you like. A standard 1920 x 1080 composition works fine for this effect. Give it a duration of a few seconds so you have room to see the animation play.
Step 2: Draw a Teardrop Shape With the Pen Tool
Select the Pen tool (shortcut G) and draw a teardrop shape in the middle of your composition. Think of it as a rounded base that narrows into a point at the top, like a single candle flame.
Don’t worry about making it perfect. Cartoon fire looks better when it’s a little loose and hand drawn. Click and drag on each point to create smooth curves rather than sharp corners, except at the very tip where a sharp point helps sell the flame look.
Step 3: Give the Shape a Dark Orange Color
With the shape layer selected, set its Fill color to a dark orange. This first layer will be the outer edge of the fire, so a deeper, richer orange works best here. You can also turn off the stroke if one was added automatically.
Step 4: Move the Anchor Point to the Bottom Center
This step is small but important. Select the Pan Behind (Anchor Point) tool (shortcut Y) and drag the anchor point down to the bottom center of the teardrop.
Why does this matter? In the next steps we’ll scale down copies of this shape. With the anchor point sitting at the base, every smaller copy shrinks toward the bottom of the flame instead of toward the middle. That keeps all the layers grounded at the same spot, which is exactly how real fire behaves.
Step 5: Duplicate the Layer for the Middle Flame
Duplicate the layer by pressing Cmd + D (Mac) or Ctrl + D (Windows).
On the new layer:
- Change the Scale to 70%
- Set the fill color to a regular, brighter orange
- Adjust the Position so it sits nicely inside the outer flame
You should now see a lighter flame sitting inside the darker one, which already starts to give the fire some depth.
Step 6: Duplicate Again for the Inner Core
Duplicate this new layer one more time with Cmd + D or Ctrl + D.
On this third layer:
- Change the Scale to around 45%
- Set the fill color to yellow
- Adjust the position again so it sits at the hot center near the base
Now you have three nested flames: dark orange on the outside, orange in the middle and yellow at the core. This layered color look is the classic cartoon fire style.
Step 7: Pre-compose the Layers and Name It “Fire”
Select all three shape layers by holding Cmd (Mac) or Ctrl (Windows) and clicking each one in the timeline. Then right click and choose Pre-compose (shortcut Cmd + Shift + C or Ctrl + Shift + C).
Name the new composition Fire and click OK.
Pre-composing groups the three layers into a single layer. This lets us apply one distortion effect to the whole flame at once, so all three colors move together like one fire instead of three separate shapes.
Step 8: Apply the Turbulent Displace Effect
Go to the Effects & Presets panel and search for Turbulent Displace. Double click it to apply it to the Fire pre-comp.
In the Effect Controls panel, change the Amount to 30. You’ll see the edges of the flame start to warp and wobble. That’s the effect that turns our static teardrop into something that feels like it’s burning.
Step 9: Animate the Offset to Make the Fire Rise
Right now the flame is distorted but not moving. To bring it to life, we’ll animate the Offset (Turbulence) property.
- Move the playhead to the start of the timeline.
- Click the stopwatch next to Offset (Turbulence) to set the first keyframe.
- Move the playhead to the end of the timeline.
- Reduce the Y value of the offset by around 1500. In my video I set it to minus 2000.
Decreasing the Y value pushes the turbulence upward, so the wobble travels from the base to the tip of the flame. That upward motion is what makes it read as fire rising rather than jelly shaking.
Step 10: Preview Your Cartoon Fire
Press the spacebar to play the animation. You should see your flame flickering and dancing upward with three bright layers of color.
That’s it. You’ve made a cartoon fire in After Effects without a single plugin.
Tips to Take Your Fire Further
Once you have the basic flame working, here are a few easy ways to customize it:
- Play with the Amount value. Lower values give a calm candle flame. Higher values give a wild, roaring fire.
- Change the Size setting in Turbulent Displace to make the flicker tighter or looser.
- Make the motion faster or slower by changing how far you move the Y offset. A bigger change over the same time means faster flames.
- Add a glow. Applying an effect like Glow to the Fire pre-comp gives the flame a warm light around it.
- Try other color palettes. Swap orange and yellow for blues or greens to make magical or spooky fire.
- Duplicate the whole fire and place a few copies side by side at slightly different sizes to build a campfire.
This cartoon fire is a great beginner project because it teaches you a few After Effects basics that you’ll use again and again: drawing with the Pen tool, controlling the anchor point, pre-composing and animating effect properties with keyframes.
Give it a try, experiment with the colors and settings, and make it your own. If you found this helpful, check out the video on my YouTube channel, Motion with Rashid, for more simple After Effects tutorials.