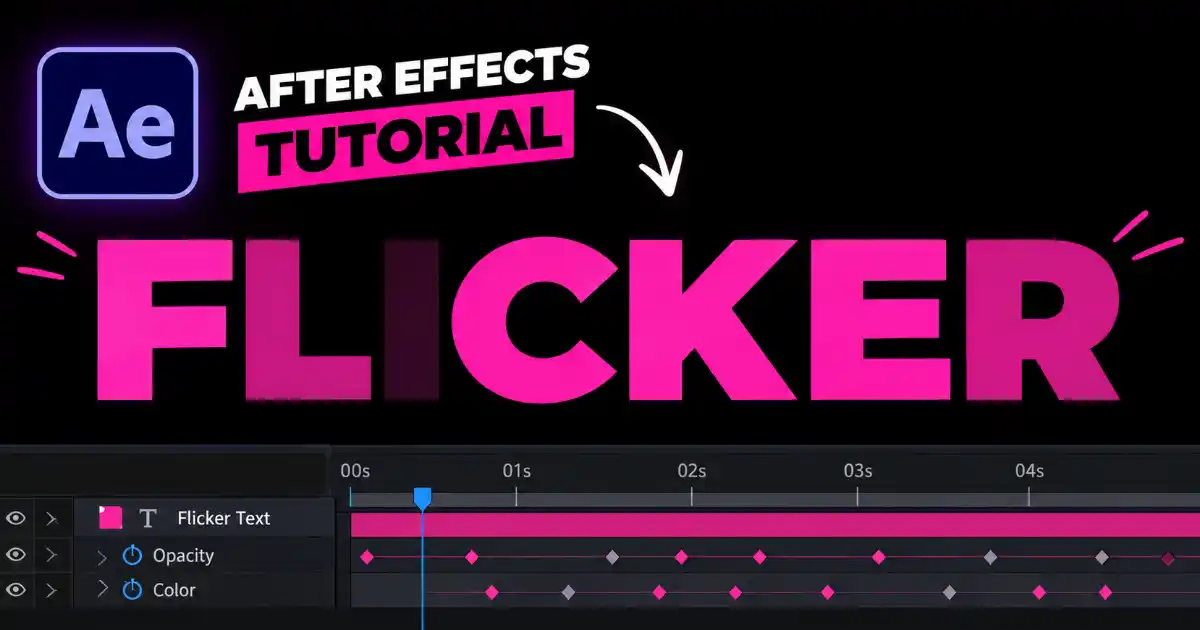
Flickering text is one of those effects that instantly adds mood to a video. Think of a broken neon sign outside a late night diner, a glitchy horror movie title, or a retro arcade intro. The letters blink on and off at random, and suddenly plain text feels alive.
The good news is that you do not need any plugins or expressions to build this in After Effects. The whole effect comes from a built in feature called the Wiggly Selector, and you can set it up in under two minutes.
In this tutorial, I will walk you through the exact steps I used in my video. By the end, you will have a random, flickering text animation that you can reuse in your own projects.
Watch the Video Tutorial
If you prefer to follow along visually, here is the full video walkthrough:
Step 1: Create a New Composition
Open After Effects and create a new composition. You can go to Composition > New Composition or press Ctrl + N (Cmd + N on Mac).
Choose a size that suits your project. A standard 1920 x 1080 composition works well for YouTube videos, while 1080 x 1920 is great if you are making a vertical Short or Reel. Set the duration to a few seconds so you have enough time to preview the effect.
Step 2: Add Your Text
Select the Type Tool from the toolbar, or press Ctrl + T (Cmd + T on Mac). Click anywhere on the composition and type your text. In my video, I typed the word “Flicker”.
Next, center the text. Open the Paragraph panel and click the center align option. Then use the Align panel to center the text layer horizontally and vertically in the composition.
This is also a good time to pick your font, size, and color. Bold fonts and bright colors tend to make the flicker more noticeable.
Step 3: Add an Opacity Animator
Now it is time to animate the text.
In the timeline, expand your text layer. Next to the Text property, you will see a small Animate button with an arrow. Click it and choose Opacity from the list.
This creates a new group called Animator 1. Inside it, you will find a Range Selector and an Opacity property. The animator controls what changes, and the selector controls which letters are affected.
Step 4: Set the Opacity to Zero
Inside Animator 1, change the Opacity value to 0%.
Your text will completely disappear from the composition. Do not worry, this is expected. Right now the Range Selector is applying zero opacity to every letter. In the next step, we will make that change happen randomly.
Step 5: Add a Wiggly Selector
Inside Animator 1, click the Add button, then go to Selector > Wiggly.
A new property group called Wiggly Selector 1 will appear below the Range Selector. The Wiggly Selector randomly changes how much each letter is affected by the animator. Since our animator sets opacity to zero, the letters will now randomly fade in and out.
Press the Spacebar to preview the animation. You will see the letters fading on and off, but the movement feels slow and smooth. It looks more like a gentle shimmer than a real flicker.
Step 6: Increase the Wiggles Per Second
This is the step that turns the shimmer into a true flicker.
Expand Wiggly Selector 1 and find the Wiggles/Second property. The default value is 2. Change it to something much higher, like 40.
Play the animation again. Now the letters blink on and off quickly and randomly, just like a faulty neon sign. That is your flickering text effect.
Customize the Flicker
Once the basic effect is working, you can fine tune it using the other properties inside the Wiggly Selector. Here are the ones worth experimenting with.
Wiggles/Second controls the speed of the flicker. Lower values like 10 give a slower, more nervous blink, while values above 30 give a fast, electric flicker.
Correlation decides whether letters flicker together or on their own. At 0%, every letter flickers independently. At 100%, the entire word flickers as one unit, which is great for a whole sign turning on and off.
Min Amount and Max Amount control the range of the effect. If you want the letters to dim instead of disappearing completely, try reducing the Max Amount or raising the animator Opacity from 0% to something like 30%.
Based On lets you choose whether the flicker applies to characters, words, or lines. Switching it to words is useful when you have a longer sentence and want whole words to blink.
Random Seed changes the random pattern. If you have several text layers using the same effect, give each one a different seed so they do not flicker in perfect sync.
Make the Flicker Stop
A common request is to have the text flicker for a moment and then settle into a steady, fully visible state. This is easy to do.
Go to the point in your timeline where you want the flicker to end. Add a keyframe on the Opacity property inside Animator 1 at 0%. Move forward a few frames and change the value to 100%. Since the animator is now setting opacity to full, the Wiggly Selector has nothing to hide, and the text stays solid.
You can also do the reverse to make the text flicker on at the start of your video, which looks great for titles and intros.
Take It Further
If you want your flickering text to look like a real neon sign, try these extra touches.
Add a Glow effect from Effect > Stylize > Glow to give the letters a soft, bright halo. Neon colors like pink, cyan, and orange work especially well on a dark background.
Duplicate the text layer, add a strong blur to the bottom copy, and set it to a blend mode like Add or Screen. This creates a light spill effect around the letters.
Pair the animation with a buzzing or electrical sound effect. The audio makes the flicker feel much more believable.
Flickering text is a simple effect with a big impact. With just an Opacity animator, a Wiggly Selector, and a higher Wiggles per Second value, you can create a random, eye catching flicker without plugins or expressions.
Try it on your next video title, Short, or intro, and play around with the Correlation and Glow settings to make it your own. If you found this tutorial helpful, check out the video above and subscribe to Motion with Rashid for more beginner friendly After Effects tutorials.