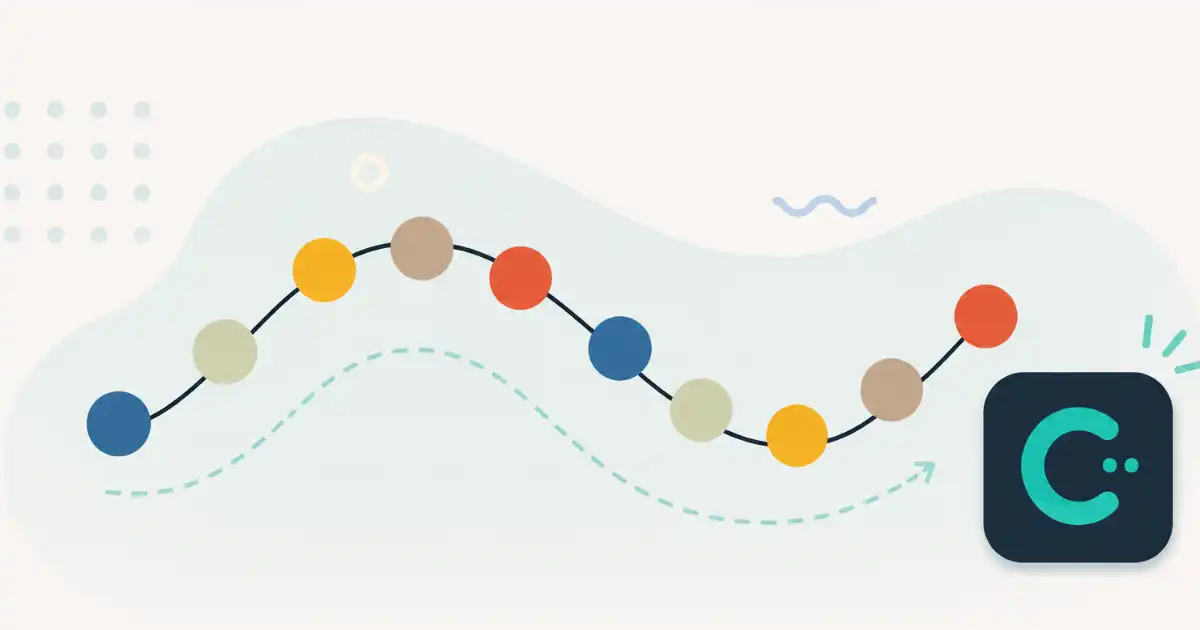
Wave animations are one of those effects that look complicated but are surprisingly easy to build once you know the right tools. In Cavalry, you can create a smooth wave of moving dots in just a few minutes, and you don’t need a single keyframe to do it.
This is also a great beginner project because it introduces you to two of the most useful features in Cavalry: the Duplicator and the Oscillator. Once you understand how these two work together, you can build loaders, backgrounds, audio visualizer style graphics, and a lot more.
Let’s build it step by step.
What We Are Making
We are going to create a row of dots that move up and down in a wave pattern. The wave loops forever, so it works perfectly as a loading animation, a website background element, or a simple motion design exercise.
The whole setup uses one circle, one Duplicator, and one Oscillator. That’s it.
Step 1: Draw the Dot
Open the Cavalry app and start a new scene.
Select the Ellipse tool from the toolbar. Hold Shift and drag on the canvas to draw a perfect circle. Holding Shift keeps the width and height equal, so you get a clean round dot instead of an oval.
Keep the circle small since this is just one dot in the wave. Give it a fill color you like. I usually go with something bright so the dots pop against the background, but any color works for now. We will look at adding multiple colors later.
Step 2: Create the Duplicator
With the circle still selected, click on the Duplicator icon at the top of the interface. Cavalry will create a Duplicator and automatically connect your circle to it.
The Duplicator does exactly what the name says. It takes your shape and creates copies of it, and you control how those copies are arranged. This is much better than manually copying and pasting circles because everything stays connected. Change the original circle and every copy updates instantly.
Step 3: Set Up the Distribution
Select the Duplicator and look at its attributes.
First, change the Distribution to Linear. This arranges all the copies in a straight line, which is exactly what we need for a horizontal wave.
Next, change the Count to 10. You now have 10 dots on your canvas.
The dots will probably be sitting close together at this point, so increase the Width value of the distribution. Keep increasing it until the dots spread out nicely across the canvas with some breathing room between each one. There is no perfect number here. Just adjust it until the spacing looks right to you.
Step 4: Add the Oscillator
Now for the fun part. This is where the dots start moving.
Click on the plus icon and add an Oscillator to your scene. The Oscillator is a behavior that generates values that go up and down over time, automatically. No keyframes needed.
Connect the output node of the Oscillator to the Duplicator’s Shape Position Y value. This tells Cavalry to use the Oscillator’s changing values to drive the vertical position of every dot.
If you hit play right now, you will see all the dots moving up and down together. That’s a start, but it’s not a wave yet. All the dots are moving at the same time, in the same direction. We need to offset them.
Step 5: Tune the Oscillator
Select the Oscillator and adjust these settings:
Set the Frequency to 1. Frequency controls how fast the oscillation happens. A value of 1 gives you one full up and down cycle per second, which feels smooth and calm.
Set the Minimum Value to 0 and the Maximum Value to 150. These two values define the range of movement. Each dot will travel from 0 all the way up to 150 units and back down again.
Now the important one. Change the Stagger to 22.
Stagger is what turns the group movement into a wave. Instead of every dot moving at the same time, each dot starts its movement slightly after the previous one. That small delay, rippling across all 10 dots, creates the wave shape.
Hit play and watch the magic. You should now see a smooth wave rolling through your row of dots.
Step 6: Add Some Color (Optional)
Right now all the dots are the same color. If you want each dot to have its own color, Cavalry makes this easy with a Color Array.
Create a Color Array and add the colors you want. Then connect its output node to the Fill Color of the ellipse. The Duplicator will cycle through the colors in the array and assign them across the copies.
This one small change can completely transform the look. Try a gradient of blues for a calm ocean feel, or rainbow colors for something playful.
Since the Oscillator did most of the heavy lifting here, it’s worth understanding it properly.
An Oscillator generates a value that moves back and forth between two numbers on a repeating cycle. Think of it like an invisible hand smoothly turning a dial up and down forever. You can plug that changing value into almost any property in Cavalry: position, scale, rotation, opacity, anything with a number.
The Frequency controls the speed of the cycle. Higher frequency means faster movement. The Minimum and Maximum values set the range. And the waveform (sine by default) controls the shape of the motion. A sine wave gives you that smooth, natural ease in and out, which is why our wave looks so fluid.
The reason Oscillators are so powerful is that they create infinite, perfectly looping animation with zero keyframes. If you wanted this same wave using keyframes, you would need to animate every dot individually and manage the timing offsets by hand. Painful. The Oscillator does all of it procedurally.
The Duplicator is Cavalry’s answer to repetitive design. One source shape, many copies, all controlled from a single place. The Linear distribution we used is just one option. You can also distribute copies in grids, circles, or along custom paths.
Stagger is the secret ingredient in this tutorial. Without it, the Oscillator would move every copy identically. Stagger offsets the timing of the effect across the copies, so each dot receives the Oscillator’s value slightly later than the one before it. A stagger of 22 gave us a nice rolling wave, but try different values. Lower numbers make a tighter, faster ripple. Higher numbers stretch the wave out.
That’s a complete wave animation built with one circle, a Duplicator, and an Oscillator. Play with the count, spacing, frequency, and stagger values to make it your own. Once this clicks, you will start seeing how much of Cavalry is about connecting simple behaviors together to create motion that would take forever with keyframes.